A recent look at prices for Microsoft’s professional-grade Integrated Development Editors for Visual C++, Visual Basic, and Visual C# might result in sticker shock for students or casual programmers who would like to write some functional or object-oriented code but do not require a professional suite of resources. As of December 2016, prices were as follows: Visual Studio Professional: $1199.00; Visual Studio Test Professional: $2169.00; and Visual Studio Enterprise: $5,999.00.
Fortunately, Microsoft also offers a quality, free download of the same software, along with community support, which is ideally suited for students and casual programmers alike. This free download, called Microsoft Visual Studio Express for Desktop (VS Express), is supported by Microsoft. VS2015 (and now 2017) can be downloaded from:
www.visualstudio.com/downloads/
or
www.visualstudio.com/vs/visual-studio-express/.
You can download the software from this link, simply by clicking “Express for Desktop” at the bottom of the page.
As an example, this article will discuss the specifics of installing VS Express 2015 for Windows Desktop and, specifically, how to launch C++. There are a few idiosyncrasies which are well worth mentioning and, hopefully, will save you some frustration when setting up. First, if you choose to install VS2015 Express, you will need to select “Custom” install and check “Visual C++” to include it in the installation process. If you do not install it this way, you could be missing your C++.cpp source files and/or your VC Project Items folder when the program runs. If that happens, you can either reinstall (although be warned that installation can take up to an hour depending on your internet connection and computer speed), or try the following fix, which combines solutions for both problems, as follows:
After installation of VS2015 Express:
1. Browse to C:\Program Files (x86)\Microsoft Visual Studio 14.0\VC.
2. Create a folder inside VC called vcprojectitems.
3. Copy all items from VCProjectItems_WDExpressfolder–except the Utility folder–to your newly created vcprojectitems folder.
4. Close VS2015 Express if open, reopen VS2015 Express, and now the C++.cpp file open is available to you under Source Files.
Additional details can be found at:
http://stackoverflow.com/questions/36490769/c-new-file-issue-in-visual-studio-express-2015
As an aside, if you are downloading VS Express to a Mac, you will need to perform one additional step, which is the installation of “X Code” (Xcode). You can watch a video on how to install Xcode, along with information on the Command Line Tools, found here:
http://www.youtube.com/watch?v=je3dQW9WZOc.
You can also launch Xcode from the App Store. Simply search and find “Xcode,” and then download and install it from there.
Working with VS Express C++
Because VS Express is an IDE, you will find everything you need to write, debug, test and run your code. There are various ways to open or launch your editor to begin typing code. One method is to simply click “Win32 Console Application.” This is a simple, default launch. However, if you need more control, including the ability to easily create and access your C++.cpp or header files (students, for example, are often asked to send their .cpp and .h files to instructors for grading), here is another way to do it:
To Start a New Project:
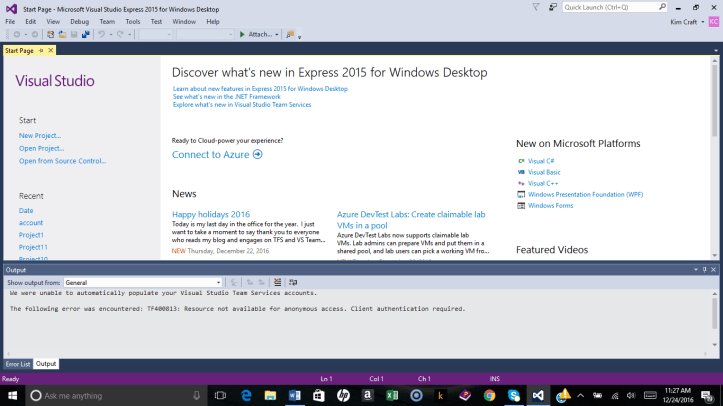
Select “New Project” in Visual C++, to the left under “Start”:
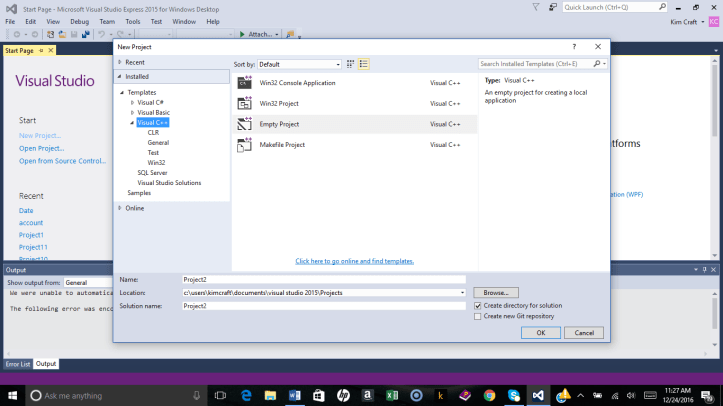
Next, click “Empty Project.” You can also name your project here under “Name.” Notice that a default file name is provided, such as Project 1. If you want to use a particular file name instead, you can change it to your chosen name right here. Also, be sure that the correct template (in this case, Visual C++) is selected from the Template drop down menu on the left-hand side:
- Right click on the source folder to the right and select “add” -> “New Item …”
- Select “C++ File (.cpp)” or, for object-oriented code, (.h) File.
- Again, a default file name will be provided, such as Project 1. If you prefer to use your own file name instead, you can change it here, as well.
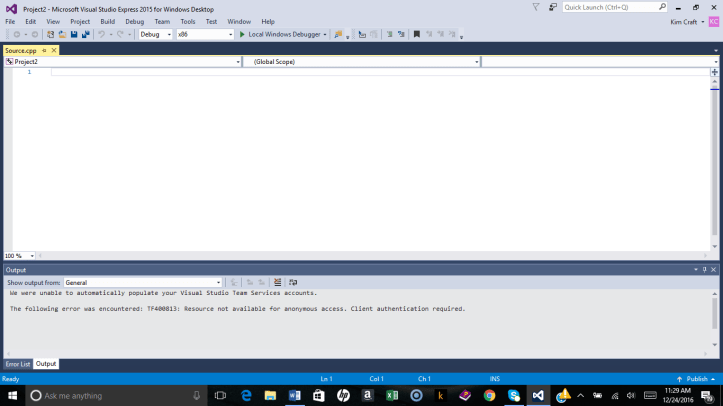
It may happen that you do not see the option to select the (.cpp) or (.h) files and, after launching, you get a blue screen, like this:
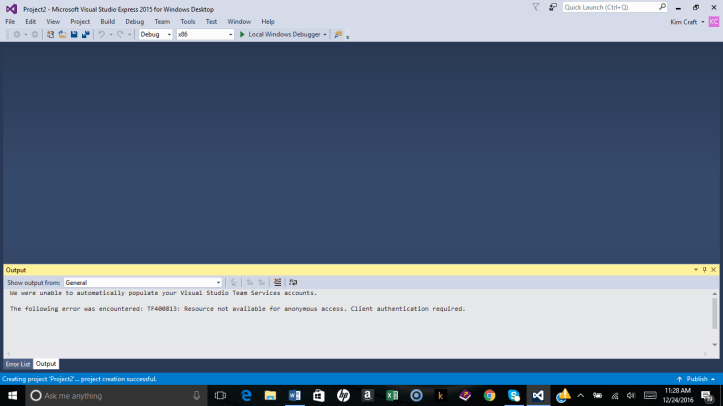
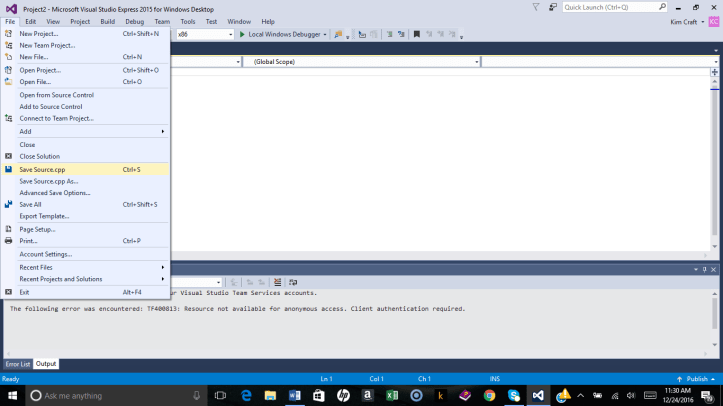
In this case, you do not yet having a working editor in which you can type your code. You will still need to create the (.cpp) or (.h) file to do so. This is easily done, since you can also launch the .cpp or .h file from the toolbar here under “Project” -> “Add New Item” ->.
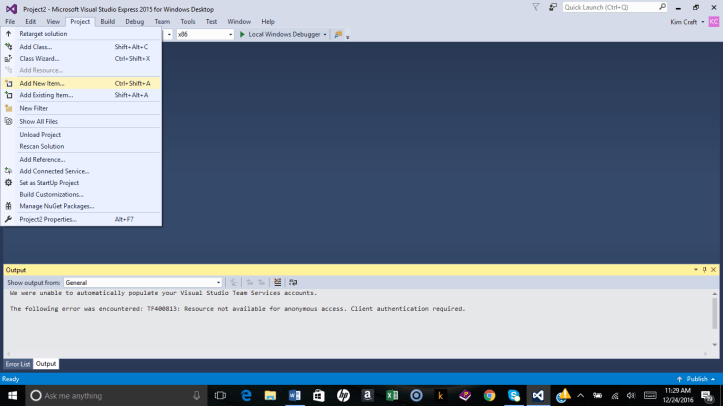
From here, select either “C++.File(.cpp)” or”Header File (.h),” as desired:

This will now launch the editor window, and you can begin typing your code here:
To Execute the Code:
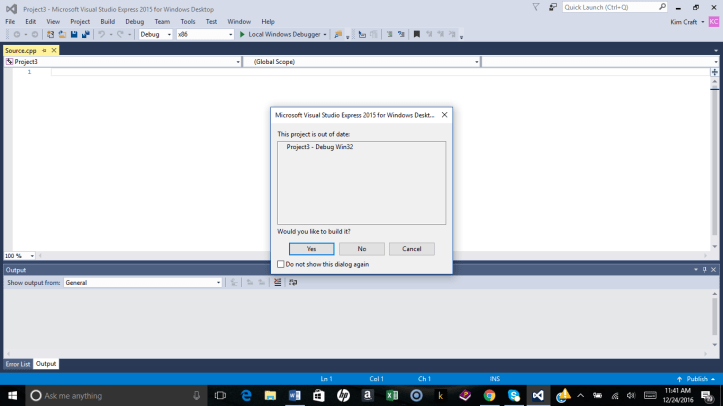
When you’re ready to run your code, the easiest way is to click:”Local Windows Debugger” found in the center of the upper toolbar. When the debugger opens, it may issue a message that the file is out of date and ask if you wish to build it. You will see this message if it’s the first time you’re running/debugging your code or if you’ve made changes to pre-existing code. Simply click “Yes.”
The debugger will then run. If the code is written without error, your program will launch; otherwise, it will provide you with a list of errors.
To Save or Print the Code:
These functions behave as they do in other Microsoft applications. From the File drop down menu, simply select “Save,” “Save As,” or “Print,” as desired.
Hopefully, this tutorial will help you to start programming quickly and easily in C++–or even Visual Basic and C#–for free!
